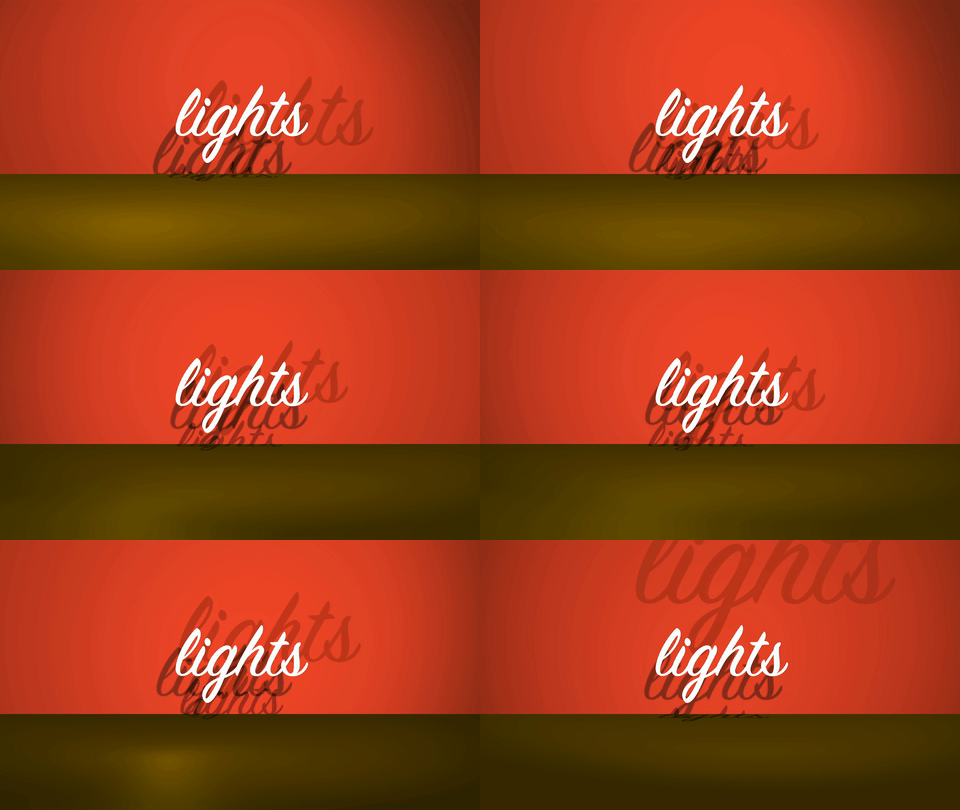
LIGHT AND DARK
Last week, we began exploring the wild, wonderful world of 3D in After Effects. This week, we’ll take things a little further by incorporating virtual lights into our compositions. This week’s lesson will really build on the previous one, so you may want to look things over again if you aren’t feeling confident.
Four Kinds of Light
As we previously discussed, adding a virtual camera to a 3D scene in After Effects can give an entirely new dynamic quality to your compositions. Virtual lights can have a similar effect. The following simple scene is composed of four 3D layers: a red background “wall” layer, a yellow “floor” layer, a text layer, and a camera. If you were to just glance at the composition, though, you wouldn’t know the scene was 3D at all – you have to switch to one of the “Custom Views” to see how things are arranged.
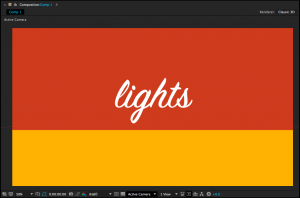
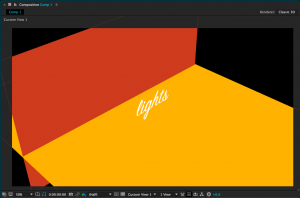
We can make this scene more interesting by adding lights. Lights are created in the same way as virtual cameras and other kinds of layers: from the top menu, choose Layer>New> and then choose Light…. A menu will appear with several options, the most important of which is “Light Type.” The kind of light you create will completely change how it affects the scene. For each type of light, you can define the color and intensity. Additional parameters will be available depending on which kind of light is selected.
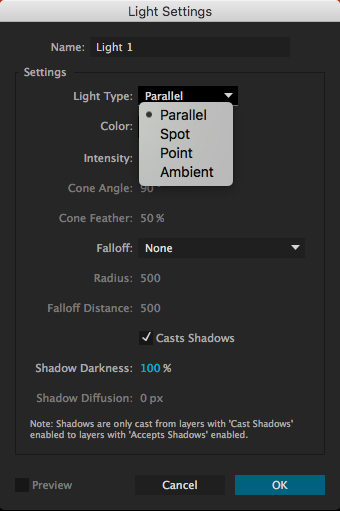
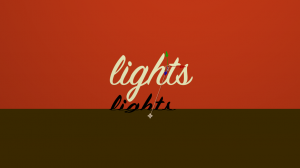
Parallel: These are rays of light cast in a certain direction. Parallel lights behave similarly to outdoor sunlight and can cast shadows. By default, parallel lights do not “fall off”, so it does not matter how close or far they are from the things they illuminate. Changing the Point of Interest on a parallel light will change the direction it casts light in.
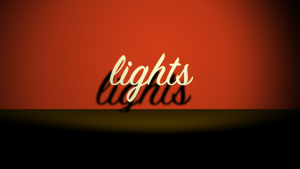
Spot: This is a cone of light that is brightest in the center, then fades to darkness. You can adjust the angle and “feather” of the cone and spot lights can cast shadows. Spot lights have the most potential parameters to adjust – in addition to the light’s position, you can change its point of interest, orientation, and rotation on the X, Y, and Z axis.
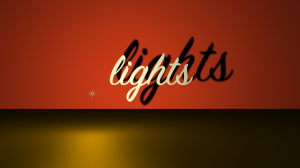
Point: This is light emanating in all directions from a point in space. Like all light types, the point light itself is invisible – there is no glowing orb where the light is located, only its effects are visible. Point lights can cast shadows and are brightest close to the location of the light.
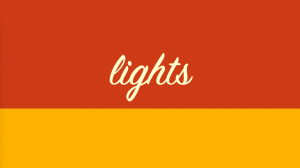
Ambient: This is light emanating from everywhere at equal intensity. Because light is coming from all directions, ambient lights cannot be used to cast shadows. Ambient lights are helpful when used in addition to other types of light, since they can change the illumination level and color of a composition uniformly.
Casting Shadows and Material Options
When you create a new parallel, spot, or point light, you will have the option to check a box that says “Casts Shadows.” However, you will also need to tell After Effects which layers in the composition are affected by the light’s ability to cast shadows. By default, every 3D layer can receive shadows (a shadow will show up on that layer when it is cast by another layer) but not cast shadows.
To change this and make your layers actually cast shadows, you’ll need to look at the “Material Options” for the layer. These are found below the “Transform” properties in the timeline window. The first option is “Casts Shadows.” In the same category are options for “Accepts Shadows” and “Accepts Lights,” both of which are “On” by default and both of which you can probably leave that way – unless you specifically want a layer to not be affected by the lights in your scene.
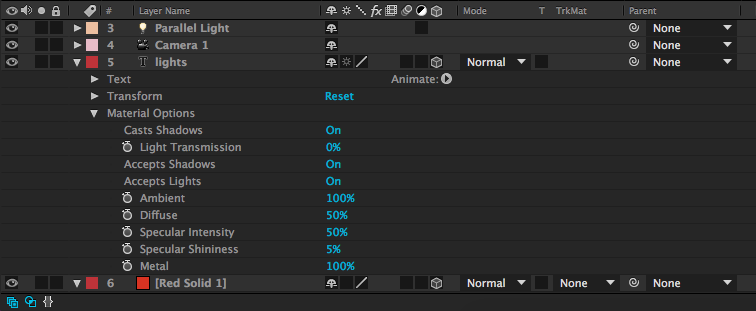
There are other areas you can adjust in the Material Options – shininess, diffusion, and more. While these parameters can be fun to play with, don’t be surprised if they don’t make a dramatic difference; many of these properties (like “Specular Intensity”) are most apparent on curved surfaces – and 3D layers in After Effects are flat. I generally don’t do much with the Material Options besides enable or disable shadows.
Illuminate Things!
Now that you know what the different kinds of lights can do, use them creatively to add an extra layer of interest to your compositions. Remember that almost every parameter – color, intensity, position, point of interest, etc. – can be keyframed. Also remember that lights, like cameras, only affect 3D layers in After Effects; nothing will show up until you click on that little 3D box icon for the layer in the timeline window. Have fun!
