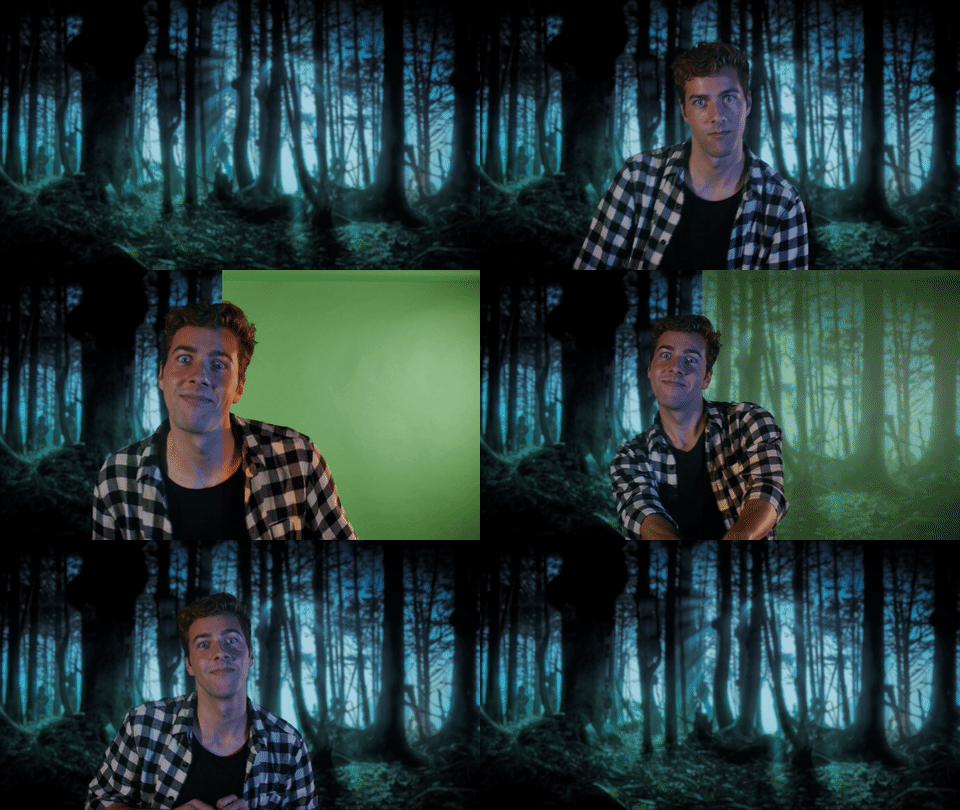
GETTING SERIOUS ABOUT CHROMA
We’ve gone over green/blue screen compositing (or “keying”) in Premiere already, so you should have a pretty solid understanding of the process. While Premiere does a very capable job of keying footage, After Effects has more advanced compositing tools and offers finer control. When I have to put together a green screen shot that is especially complicated or use footage that is challenging I almost always use After Effects.
Masking and Keylight
In Premiere, we used the crop effect to quickly mask out unwanted areas of green screen footage. In After Effects, we can use the mask tool to do the same thing, but with much greater control. Use the pen tool to draw a rough mask around your subject, cutting out any unwanted areas of the frame. The more you can cut out, the less the program needs to color-key, and the better your results are likely to be.
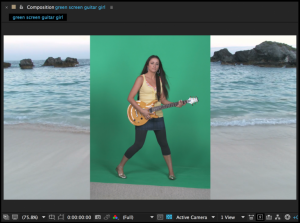
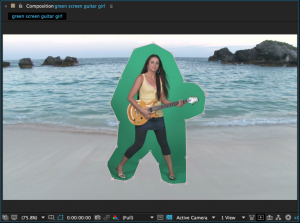
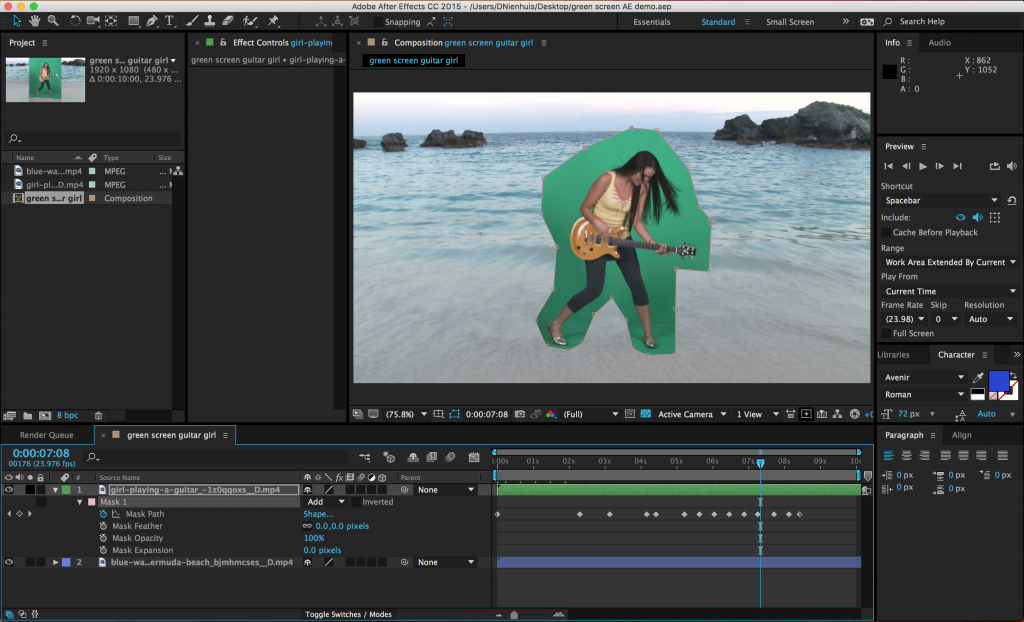
 While you want to crop out as much as you can, if you draw your mask too close to the subject being keyed, they may move outside the mask during the clip. If this happens, the subject will be partly cut off. To avoid this, you can animate the shape of the mask. Under the mask properties in the timeline panel you will find “Mask Path.” If you turn keyframes on for this property, you can animate the shape of the mask by dragging its points. Simply go through the footage and change the shape of the mask whenever your subject moves out of it. You may need to shift-click on a mask’s points to select it individually. Once the shape of your mask has been keyframed, it should move around your subject throughout the footage without cutting them off. You can also add a slight feather to the edges of the mask, to help everything blend together.
Once you’ve isolated your subject with a mask (and animated it, if necessary), you can begin to actually key the footage. There are lots of compositing options available in the “keying” section of the effects, but your best bet is an effect called Keylight. Keylight is similar to the UltraKey effect in Premiere in many ways. First, select the color of the mask using the eyedropper tool – you should see an immediate effect. Next, change your view mode from “Final Result” to “Screen Matte.” This will give you a black-and-white view of the areas being keyed out – black areas will be taken out, white areas will remain, and anything grey will be transparent. Your goal is to get rid of all the grey areas.
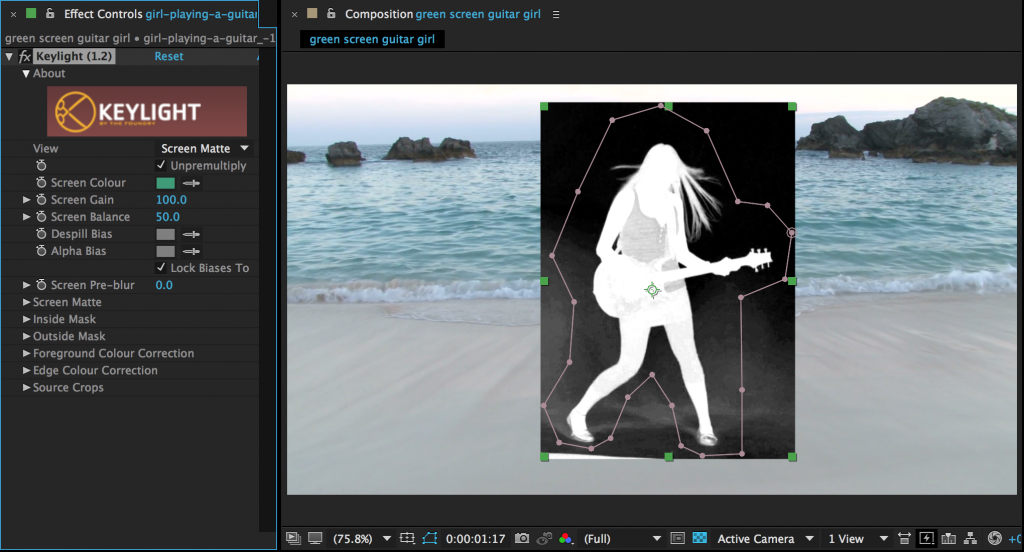
The first effect parameters you should adjust are the “Screen Gain” and “Screen Balance.” Try adjusting each to see if the result improves or gets worse, but don’t worry if you can’t get it exactly right – this is only the first step. Be careful not to lose detail as you adjust the gain and balance. Next, move down to the section of the effect called “Screen Matte.” The two things you want to adjust here are “Clip Black” and “Clip White.” As you turn “Clip Black” up, the dark areas of the screen will get darker. As you turn “Clip White” down, the light areas of the screen will get whiter. You should be able to get your image to only black and white using these parameters. Be careful not to adjust any one thing more than you need to – again, going too far will cause you to lose detail. If you can’t get rid of some of the grey, you may need to add a color correction effect to the media before you try to key it.
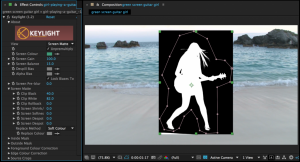
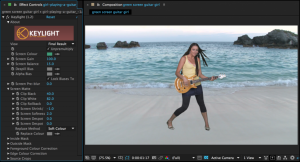
Once everything looks good, switch your view back to “Final Result.” To fine-tune the final image, you can adjust the “Screen Shrink/Grow” and “Screen Softness.” If you set the “Screen Shrink/Grow” to a negative number, it will bring in the keyed edge. “Screen Softness” will soften the edge.
With the key done, you can add color correction effects, blurs, adjustment layers, and transform properties to meld the green screen footage and the background together. Remember to pay attention to perspective and that adding a slight blur to the background can help it look more natural.

Advanced Presets
The technique outlined above should generally give better results than we were able to achieve using Premiere Pro’s built-in chroma key functionality. However, you still may have trouble pulling a completely clean key all the time – green screen compositing can be challenging even when using advanced software like After Effects. The most common areas of trouble are “chatter” in the keyed image, fringing around the edges, and unwanted color casts. To fight these, After Effects includes a set of effect presets that work in conjunction: Keylight, Key Cleaner, and Advanced Spill Suppressor.

Begin by using the same masking technique as before, cropping around your subject and animating the mask as necessary to account for movement within the frame. When you are ready to add the Keylight effect, however, don’t choose it from the Effects drop-down menu; instead, type “key” into the Effects search bar. In addition to the standalone Keylight effect, you should see “Keylight + Key Cleaner + Advanced Spill Suppressor” listed under “Animation Presets.” Drag this preset onto your footage.
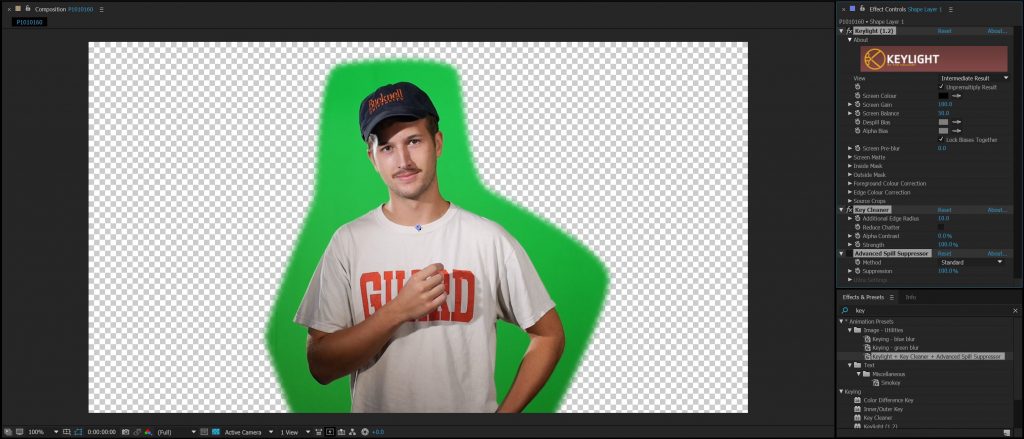
You should now have three effects added to the layer, although the visibility of the Advanced Spill Suppressor is turned off initially. If you look closely at the settings of the Keylight effect, you’ll also notice that the view is set to “Intermediate Result” instead of “Final Result.” This is because of the way the three effects work together.
Keylight is the first of the three effects you should make changes to and the process is basically the same. Switch the view to Screen Matte, make tweaks to the Screen Gain and Screen Balance, then clean up the problem areas using Clip Black and Clip White. Flip the view back to Intermediate Result (not Final Result) and make any necessary adjustments to Screen Shrink/Grow and Screen Softness to clean up the edges of the key. However, don’t worry about it too much if there is still some colored fringe on the edges – the other two effects will help with that.
The Key Cleaner will do two things: help refine the edge of your key and reduce “chatter.” Chatter is the noise pattern that sometimes appears in keyed footage, often in dark areas. To remove it, simply click the “Reduce Chatter” check box. The other parameters in Key Cleaner affect the key’s edges; try sliding them back and forth and see what the results are. I tend to leave the settings fairly close to the defaults, only making slight tweaks.
You may still have some faint green fringing on your key. To remove this, turn on the Advanced Spill Suppressor by clicking the blank box next to its name in the Effect Controls panel. Remember that “on” effects have an “fx” icon next to them. The standard settings for Advanced Spill Suppressor are incredibly simple: once the effect is turned on, you should see an immediate effect. If too much green is being taken out of the image, turn down the “Suppression” setting. Most of the time, that’s all that you need to do. If you aren’t getting the result you want, you can switch the method from the standard settings to “Ultra.” This will give you a handful of parameters to adjust and play with. If you still aren’t getting a clean key, you may need to refine something earlier in the process, such as the animated matte or the parameters in Keylight.
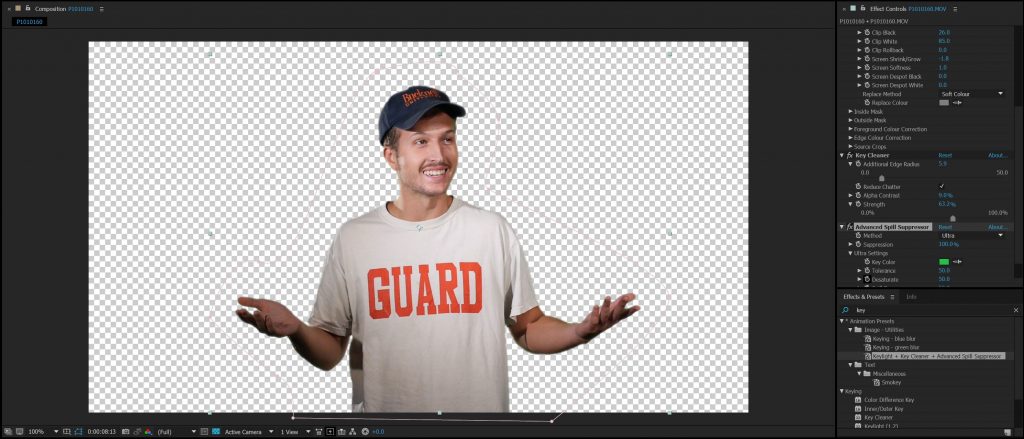
You should be able to get a clean key on just about any reasonably well-shot green screen footage using this method. Once you have your footage keyed out, you can get creative with compositing and color grading. One trick that I sometimes use is to duplicate the background layer and place it over the keyed subject. You can then blur it way out and lower the opacity down to maybe 10 or 15%. This will give a faint color cast to the subject and help them seem like part of the background environment. This trick isn’t always appropriate, but it is often useful.

Project 8: Make It Spooky
Remember the green screen footage we shot way back in Week 5? It gave us problems in Premiere Pro, but I’m confident that the tools in After Effects are more than enough to handle it. Choose one (or more, if you feel up to it) of the clips in this folder to composite using one of the methods described above. You may be able to key the footage using only Keylight, or you may need to use the preset trio of keying effects. Experiment and see what works.
Since this is the last class before Halloween, I want you to create a spooky scene from the composited footage. You could use a dark cemetery background or an abandoned asylum. You could make your shot look all grainy and found-footage-style or you could go for classic Hollywood horror in black and white. It’s up to you.
This assignment has two goals. The first is to get a really good, clean key from the footage. The second is to make your compositing and color work cohesive and atmospheric. Remember to use adjustment layers and color grading to tie everything together. If you aren’t happy with the color correction tools in After Effects, feel free to export your video and make final adjustments in Premiere. Upload the footage and send me the finished result. Have fun and make it spooky!
